






Hey there! If your bathroom tiles are looking a bit dull and that grout has turned from bright white to… well, let’s just say “mysteriously grey,” you’re not alone. Bathrooms are prime spots for soap scum, mould, mildew, and limescale thanks to all that steam and daily use. The good news? You can get them sparkling again with some basic supplies and a little effort. I’ll walk you through it step by step – no fancy equipment needed.
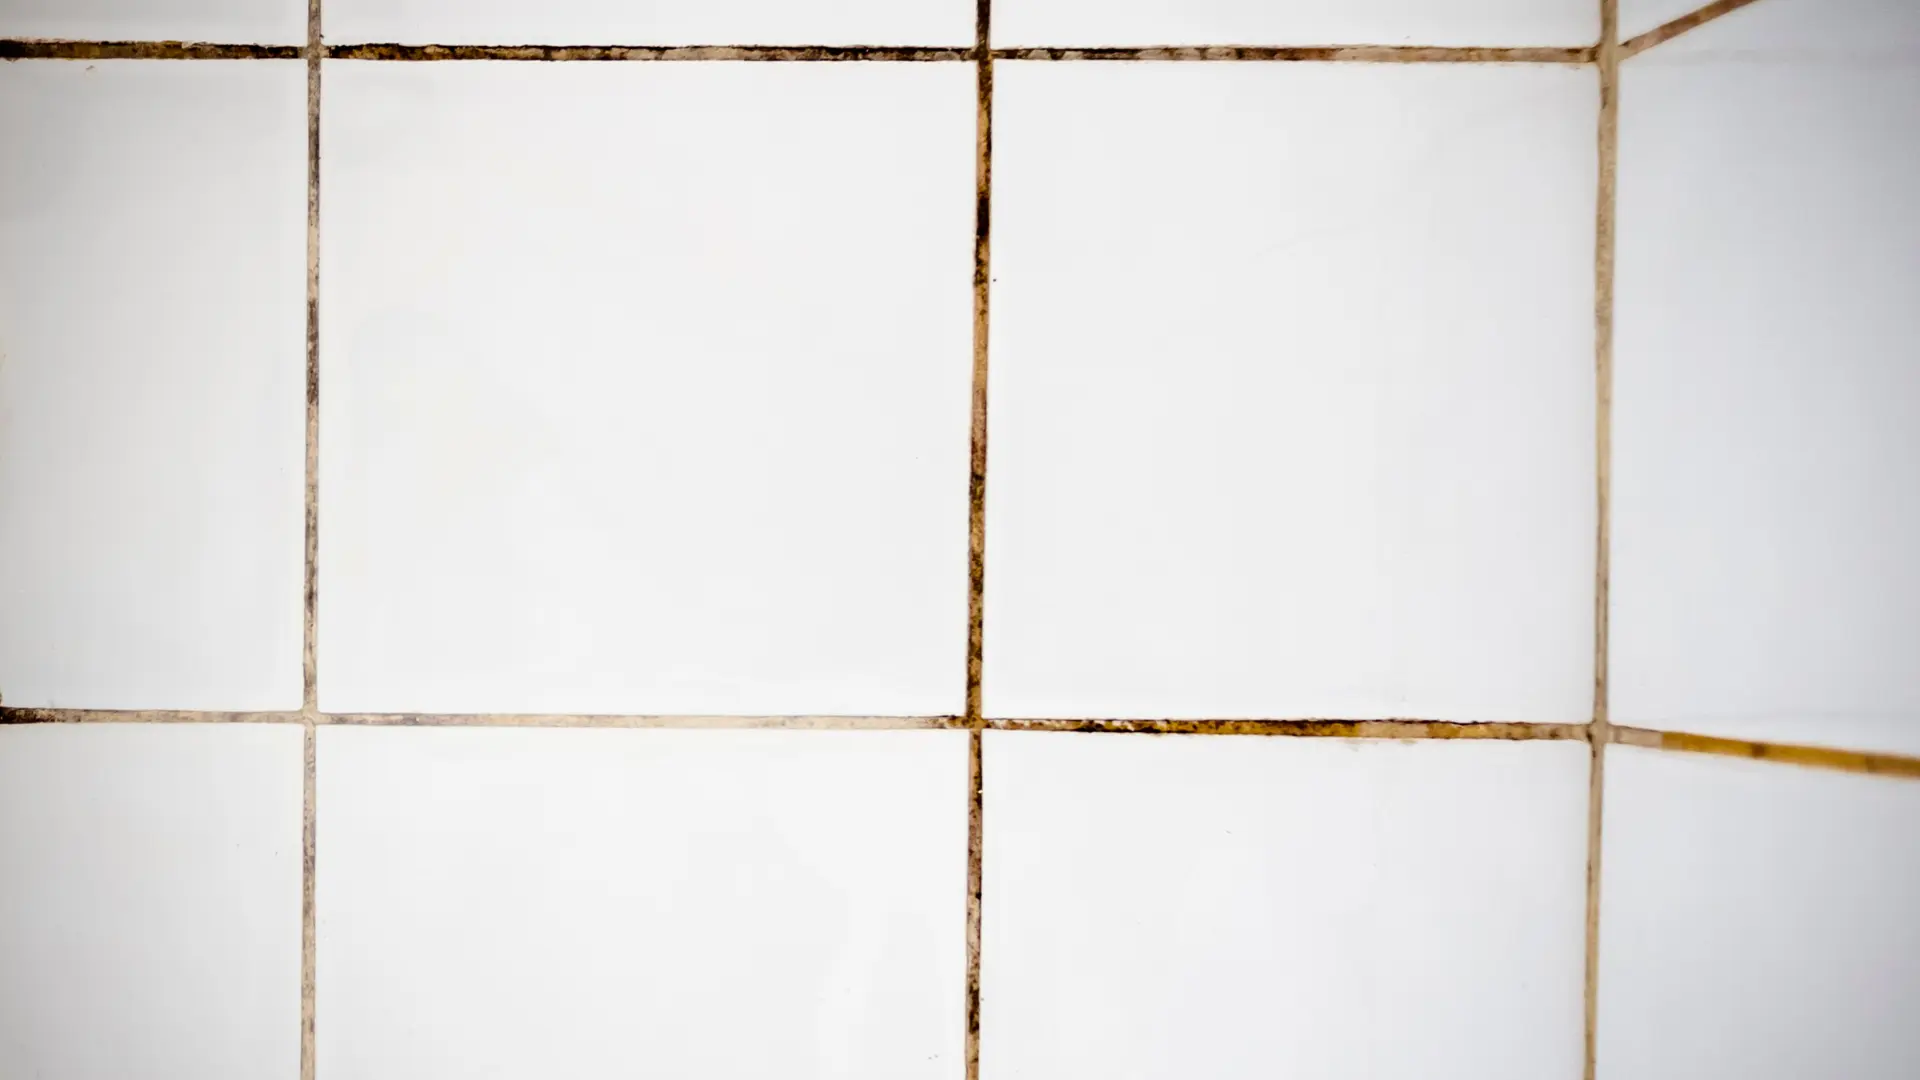
Here’s what dirty grout often looks like before you start:
What You’ll Need
- Bicarbonate of soda (baking soda)
- Hydrogen peroxide (3% solution is fine)
- Mild washing-up liquid
- An old toothbrush or stiff-bristled grout brush
- Spray bottle
- Microfibre cloths or sponge
- Gloves (to protect your hands)
- Optional: White vinegar (for tiles, but use sparingly on grout), or a steam cleaner if you have one
Step 1: Prep the Area
Start by giving your tiles a quick wipe-down to remove surface dirt. Mix equal parts warm water and mild washing-up liquid in a bucket, dip a sponge in it, and gently clean the tiles. Rinse with clean water and let everything dry a bit. This prevents loose grime from turning into mud when you tackle the grout.
Pro tip: Open a window or turn on the extractor fan for ventilation – bathrooms can get steamy!
Step 2: Make Your DIY Grout Cleaner
One of the best homemade solutions is a simple paste: Mix about ¾ cup bicarbonate of soda with ¼ cup hydrogen peroxide and a squirt (around 1 tablespoon) of washing-up liquid. It should form a thick, spreadable paste. This combo is gentle yet powerful – the bicarbonate of soda acts as a mild abrasive, hydrogen peroxide tackles mould and brightens, and the liquid cuts through grease.
If your grout is super stubborn, let the paste sit longer.
How to Clean Grout With Baking Soda: An Easy DIY
Step 3: Apply and Scrub the Grout
Spread the paste directly onto the grout lines using a spoon, your finger (with gloves!), or even a squeeze bottle for precision. Let it sit for 10-15 minutes – this gives it time to break down the grime.
Then, grab your brush and scrub along the lines in a circular motion:
You’ll probably see the dirt lifting right away. Work in small sections so it doesn’t dry out.
For the tiles themselves, spray with a 50/50 mix of water and white vinegar (if your tiles aren’t natural stone – vinegar can etch those), wipe, and rinse.
Step 4: Rinse and Dry
Wipe everything down with a damp cloth or sponge to remove the paste residue. Rinse thoroughly with clean water – no one wants bicarbonate of soda streaks! Finally, dry with a microfibre cloth to prevent water spots.
Take a step back… doesn’t it look amazing?
Prevention Tips to Keep It Clean Longer
- Squeegee or wipe down shower walls after each use.
- Run the extractor fan during and after showers to reduce moisture.
- Do a quick maintenance clean weekly.
- Consider sealing your grout once it’s clean – it makes future cleaning way easier.
Doing this yourself can save money and give you that satisfying “I did that!” feeling. But if your grout is really tough, heavily stained, or you’re short on time (or just don’t fancy the scrubbing), professional help can make a huge difference.
For expert bathroom cleaning services that go deep into those tiles and grout, check out Spark Cleaning Services. They handle the tough jobs so you don’t have to – visit https://www.sparkcleaningservices.co.uk/ to learn more or book a session.
Alternatively, check out our blog on installing your shower cubicle.


